El Cajon Mountain (“El Cap”)

Before I attempted this hike, I was told it is very challenging and a lot of elevation gain and loss when going out as well as coming back. I read a lot of articles about this trail and get prepared. I set the date and the weather forecast were favorable for this hike. Even on the date I hiked, the weather was much better. It was cloudy and little bit of light rain when I start, but it stopped as we go up. There was trail mark on every mile and additionally on 3.5 mile. It was very easy to follow and the elevation profile on the mark was impressive, because I did not see this kind of trail sign before.

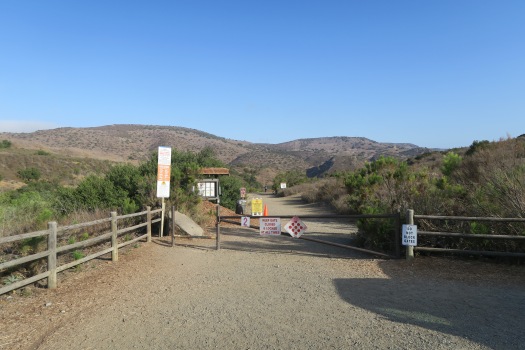
The parking lot opens at 8:00 am, and we arrived there at 6:30 am. So we parked our car on the side of the street, and start our journey. After passing a couple of private ranches, we were at the trailhead with restroom.

About 1 mile, there is T junction where you take left turn. Soon there is a mile marker, then there is a junction (Pata Ranch Trail) where we take left and continue El Capitian Trail.

When you pass the 3 mile marker and bench, there is stop sign and it said “You just finished easy half of the trail”. I guess there will be a lot of of uphill waiting for us.

I was very good shape, and I wasn’t feeling that hard at this point. Before you reach 5 mile marker, there is old jeep truck which is good spot to take a picture. Also, we feel it gets close to the peak.

At 5 miles, there is four way junction. Go straight will lead to the cliff, and we take a left turn continue to El Cajon Mountain peak. From here, the trail gets narrow and there were a lot of vegetation and you will want to wear long pants not getting scratch on your leg.

Finally, we summit El Cajon peak, and enjoy the spectacular view. After brief rest, we came back to the four way junction, we go the other side which is about 0.3 miles to the right at junction. There is not much except old building structure. We came back to the junction again, and came back the the parking lot.

The downhills when we go out became a uphill when we came back. Total elevation gain is 4000 ft, but I don’t feel it is as hard as Mt baldy and other peaks in San Gabriel range, because elevation is much lower. It is great work out and very rewarding hike, and not that crowded, nor loneliness. You will meet many people when you travel this trail.

South Fortuna Mountain

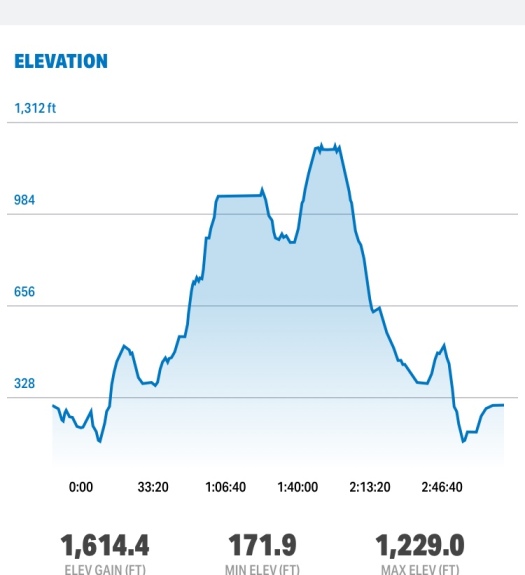
Distance: 7 miles

Duration: 3:28:00

Pace: 27.41 min/mile

Elevation Gain: 1531 ft

Trailhead: Jackson Dr and Mission Gorge Rd Staging area

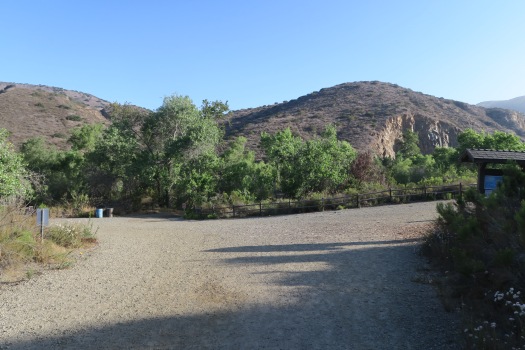
Initially, I plan to hike South Fortuna Mountain, and I ended up with both South and North Fortuna Mountains because of their proximity. The trailhead is at Jackson Dr and Mission Gorge Rd, and there is staging area where you can park your car. From there, take wide path toward River crossings.

32062240_Unknown

About 0.3 miles from start, there is a junction and take a left here. Right turn here will lead to Visitor Center, which I went initially but I realize it is wrong way and I come back this junction again. 32062272_Unknown

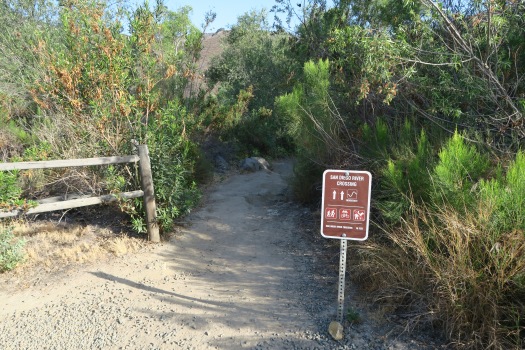
On San Diego River Crossing trail, you will encounter river crossing and you will get wet if the water stream is high. There is around way on your left with sign, and take that route without soaking your shoe.

32062304_Unknown

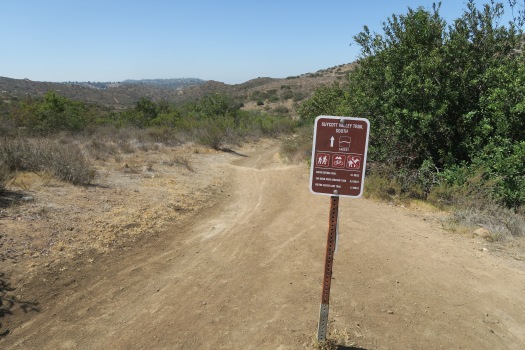
Then follow San Diego River Crossing Trail until you met the junction with Suycott Valley Trail. Turn right on that junction and follow Suycott Valley Trail about 0.3 miles.

On next junction, turn right and turn right onto South Fortuna Trail. From here South Fortuna summit is about 1.2 miles, and trail sign said it is difficult with decent amount of elevation gain.

There is wooden bridge on the way, and another trail sign where I took right turn.

Here is a picture seen from below toward South Fortuna Mountain, and the right picture is a rock on the way.

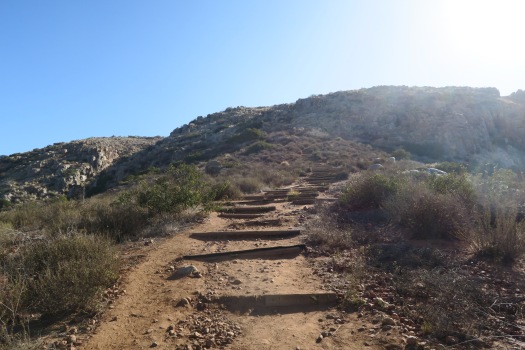
This is popular stair way called “Stairway to Heaven”, which is about 560 feet vertical gain.

32062560_Unknown

There are a couple of signs on the way, and finally I went to the summit.

From the saddle, there is four way junction. Straight ahead to North Fortuna Summit. Turn left is where we will get down when we came back here again after North Fortuna Summit.

Here is North Fortuna Summit, which is little higher than South Fortuna.

32062736_Unknown

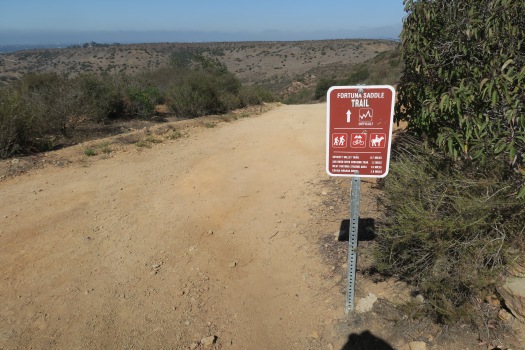
Go back to the 4 way junction, and turn right toward Fortuna Saddle Trail. This is very steep downhill, and you better use hiking pole to get down this trail.

32062704_Unknown

Follow this trail about 0.7 miles until you see Suycott Valley Trail sign.

Turn left toward Suycott Valley Trail.

32062880_Unknown

Go straight toward the junction that met when we came.

From here, we follow the way we came toward parking lot.

IMG_1110

Iron Mountain via Ellie Lane Trail

Distance: 9.5 miles

Duration: 4:09:30

Pace: 25 min/mile

Elevation Gain: 1600 ft

About 0.4 miles from the trailhead, there is a junction that split Ellie Lane Trail and Wile horse Trail. Take left turn and continue to Ellie Lane Trail. About 1.1 miles, we are at a large granite and faced with Table Rock. You will realize it is Table Rock without any sign. After that there are a couple of junctions with no signs, and it will end up with same place. We take left at the first of them, then turn right, turn right. At about 2 miles, there was a T junction, and we should take a left path to continue Ellie Lane Trail. If you take a right turn here, you will be going to the parking lot. The trail peaks and went downward a bit, then we see small junction. There are two small peaks in a series, not sure that is Ramona Overlook. We went there and come back to the trail get continue on the trail. At 3.35 miles, we came to the junction that leads to the iron mountain peak. The right turn here will be going to iron mountain trail trailhead, which is the way later we get down. It is about 1.45 miles to the peak, it is continuous up hill, but it isn’t that difficult to go. Also, there are so many people on the trail, there is no chance you get lost.

Once we peaked iron mountain and get down the same way to the Junction, and take a left to go iron mountain trail. Before we get to iron mountain trailhead, there was a T junction where we take a right turn that leads to Wild Horse Trail. At the first junction, take a left to go north, then turn right at the next junction with no sign. It was very nice trail and a lot of variations.


Second visit: I did another hike with some companies in the following week. It was raining when we start, but I am sure it will stop as we go up. It is much comfortable for me because I know where to go. One of friends told me that there are a lot of rock formation here, and I just realized it is at this time.

Duck Pass & Duck Lake

This is little over due, and I did this hike about 20 days ago. I drove about 5 hours to north to get here. We stayed one night at hotel, and enjoyed the area. There was snow some places, and also in the trail. The first half of the section was covered by snow, and it was very slippery. Unfortunately, I did not bring a spike and stay slow to going up. There are two lakes when we go up, and it was so beautiful. The last section was has so rocky, and there are small stones and rocks on the trail and sides. When we reach our destination, there was big lake ( duck lake) and small lake ( pika lake) behind.

There are so many variations in this trail and area, and I probably come back later.


Bishop Creek Canyon

Driving hours: 260 miles, 4 hours 15 minutes.

I start with I-5, and highway 14, then take highway 395. On way up, we stopped at Red Rock Canyon State Park on highway 14. It is not well-known place, but it is on our way, and decided to stop there. It was much better place than our expectation. It is small, but there are trails and pretty rock formation. The entrance is just on highway 14, and watch for the signs to get here. After we eat breakfast and take a little rest, we go on to our destination. If you search for Highway 395, it has many view points to enjoy. Once we arrive at Bishop, took 168 to go further higher elevation. The road condition was pretty good, and there are lots of elevation gains. About a mile or two to the Lake Sabrina is little dirt road, but it was OK to manage. You should be aware of the vehicle that comes to you, because the road is too narrow and still two way road. It was beautiful lake at this high elevation.

Lake Sabrina Boat Landing


Lake Sabrina


Seoraksan National Park

Duration: 2 days with one night at the Socheong Shelter.

Path: Baekdamsa to Bongjeongam Temple – Socheongbong – Daecheongbong – Huiungak Shelter – Gongyongneungseon ( Ridge) – Madeungnyeong – Osaeam Temple – Yeongsiam – Baekdamsa.

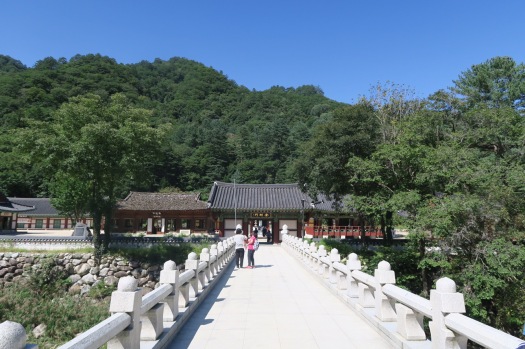
We leave home in the morning, and take a highway to Baekdamsa Parking lot. Before we stop there, we eat whangtae haesangguk for breakfast. We left our at the parking lot, and take bus to get Baekdamsa.

We started 500m from sea level, and the highest peak was 1708 m.

From Baekdamsa to Yeongsiam ( 3.5 km), and take a path to Suryeomdong Shelter ( 1.2 km), and to Bongjeongam (5.9 km), then to Socheong Shelter (1.1 km).

On day two, we woke up at 4:00 am to see sun rise. From Socheong to Jungcheong ( 0.6 km), and another 0.6 km to Daecheongbong peak. We came down the same way to Socheong (1.2 km), then take a path to Huiungak Shelter. We stopped here and eat breakfast. On the Muneomigogae (1.5 km), we take a path to Gongyongneungseon. This is 4.9 km long, but it was very challenging because it has several up and down with high elevation changes and rock scrambling.

From Madeungnyeong to Oseam (1.4 km), and another 2.5 km to Yeongsiam, then finally back to Baekdamsa for 3.5 km.

Total, we hiked 27.9km, 11.7 km first day and 16.2 km second day.


Soyosan Mountain

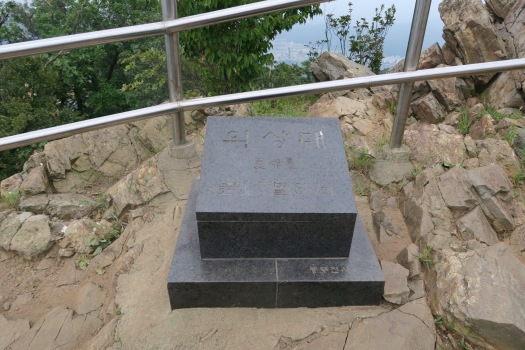
Soyosan is small mountain located in Dongducheon City, Korea. It is only 536 meter from sea level. It has six prominent peaks, and the highest among them is Uisangdae.

I took a larger loop which travels all six peaks, and it took me about 3 and half hours.

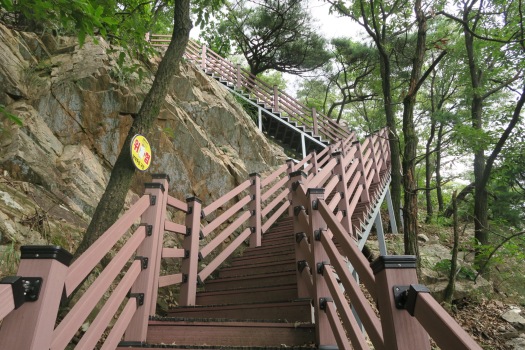
Like most of mountains in Korea, there are sections of stairs and rock scrambling. It would take more time considering the length of the path.

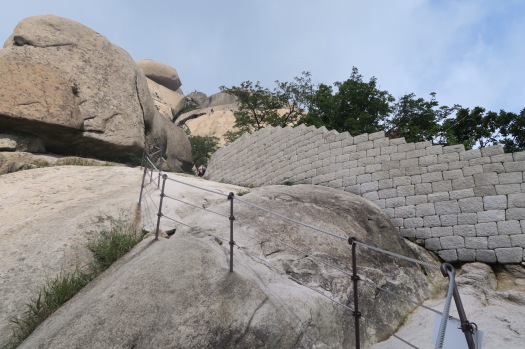
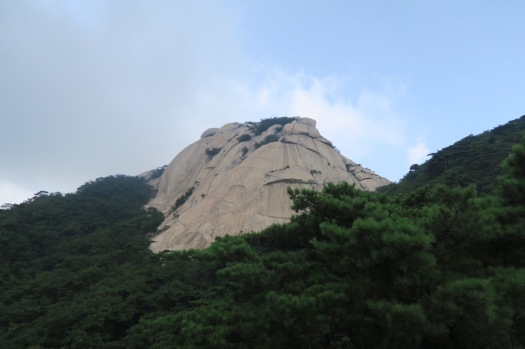
Bukhansan National Park

The mountain is located at the Northern border of Seoul, Korea.

The distance I walked is not far, but it takes more time because the trail is almost climbing on the rock. So, don’t underestimate travel time by just looking at the length of the trail.

I started the hike from Bangkak subway station, then took a bus # 130, and rode a taxi to the trailhead.

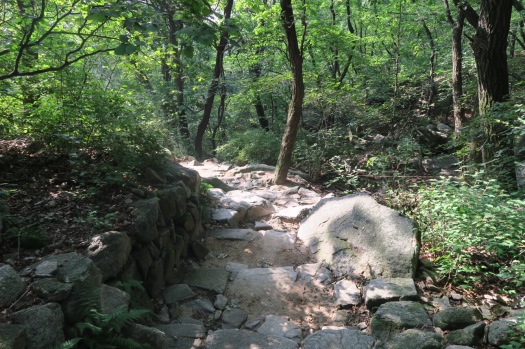
The trail is almost walking on the rock from beginning to the end. Some part, there is a guided rope, and some does not have. You should be better to wear shoes with good traction and sticky on the rock.

The rock formation in this range is incredibly beautiful, and ther are so many places to take pictures. My only complaint is taking too much time to see the scenery.

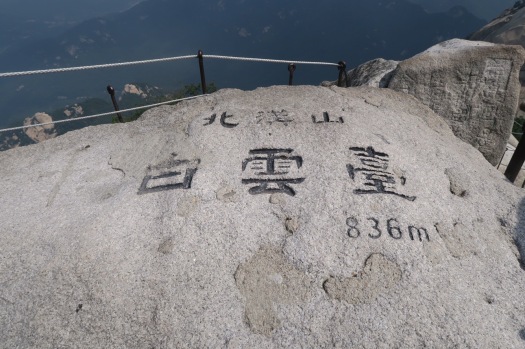
Baegundae is the highest peak in the Bukhansan with 836 meter (2742 feet). Compare to the mountains in the southern california, it is small mountain range. It is rather compact version that collects all pretty rocks together.

San Bernandio Peak

Distance: 16.8 miles

Elevation gain: about 4800 feet

Hours: 9 hours ( including long break at the peak)

Trailhead: San Bernardino Peak Trail

Difficulty : Difficult